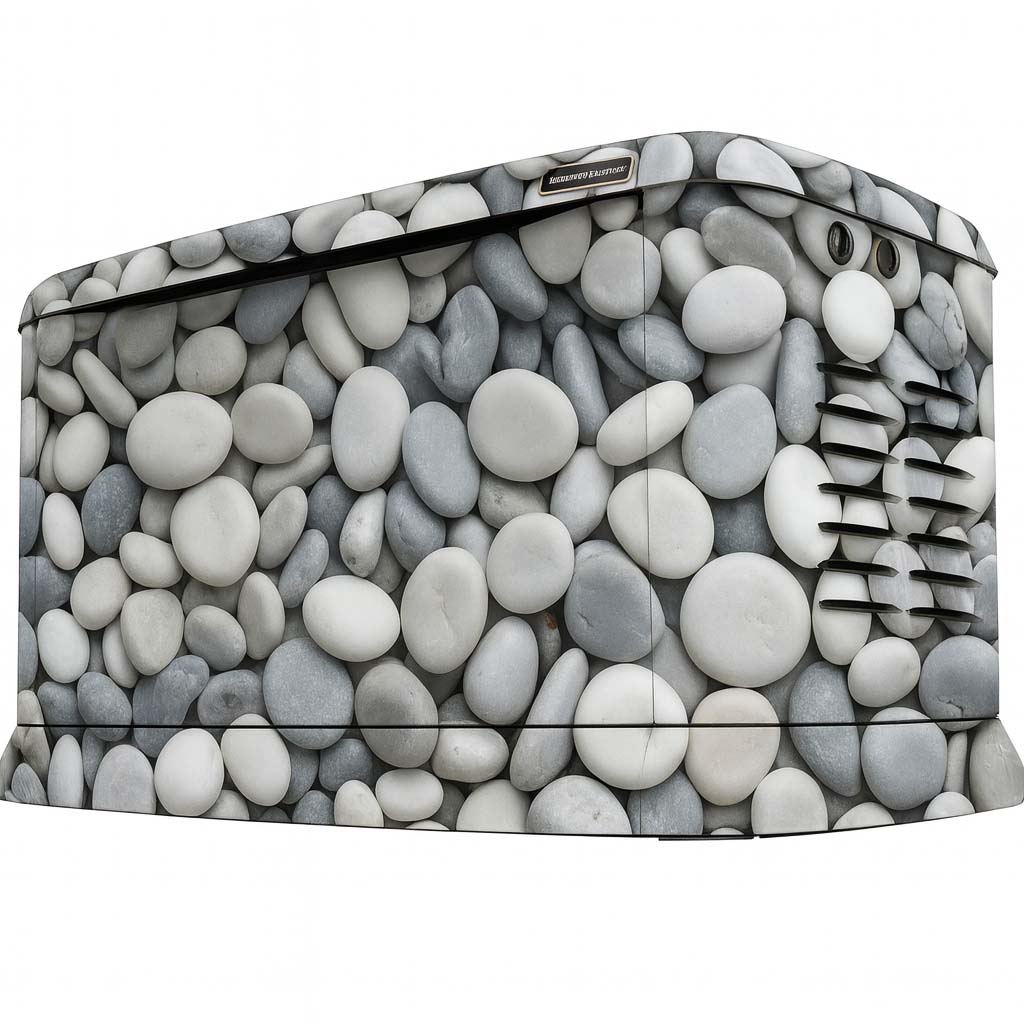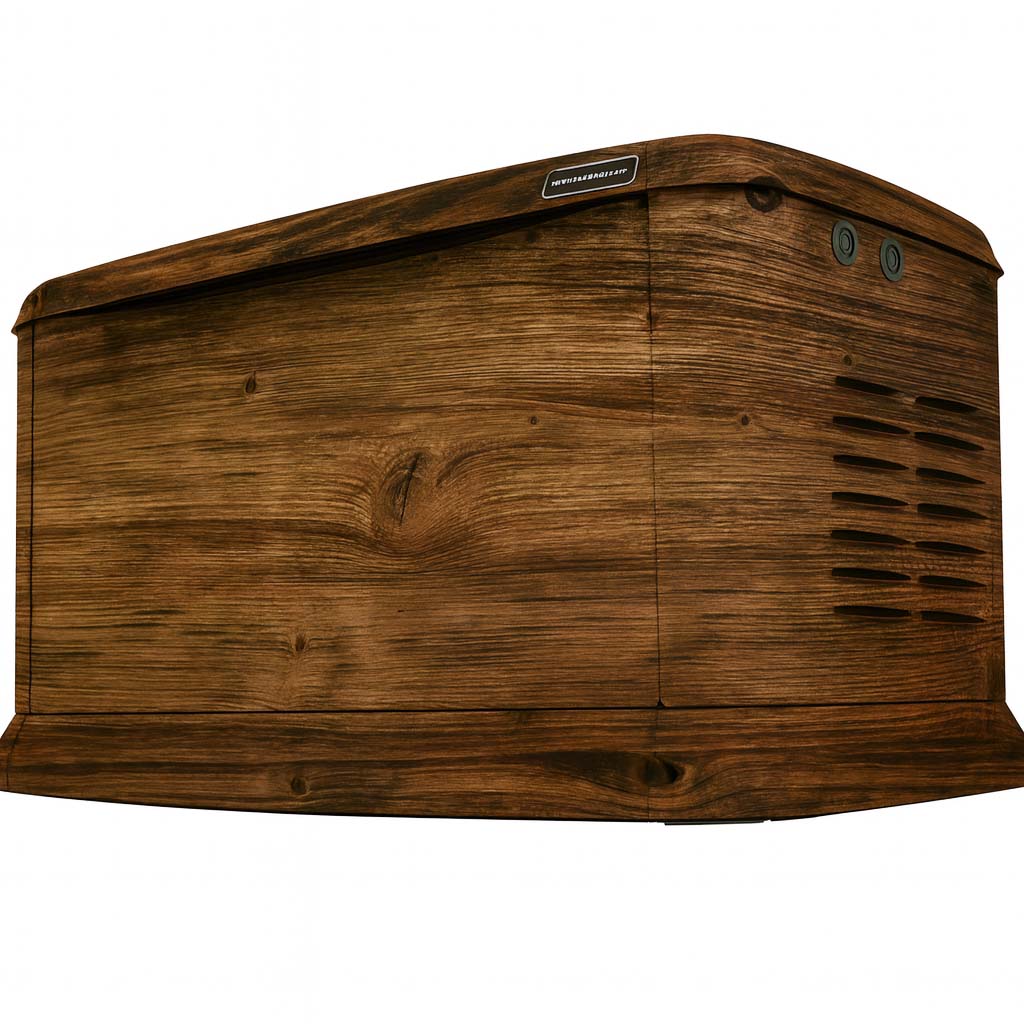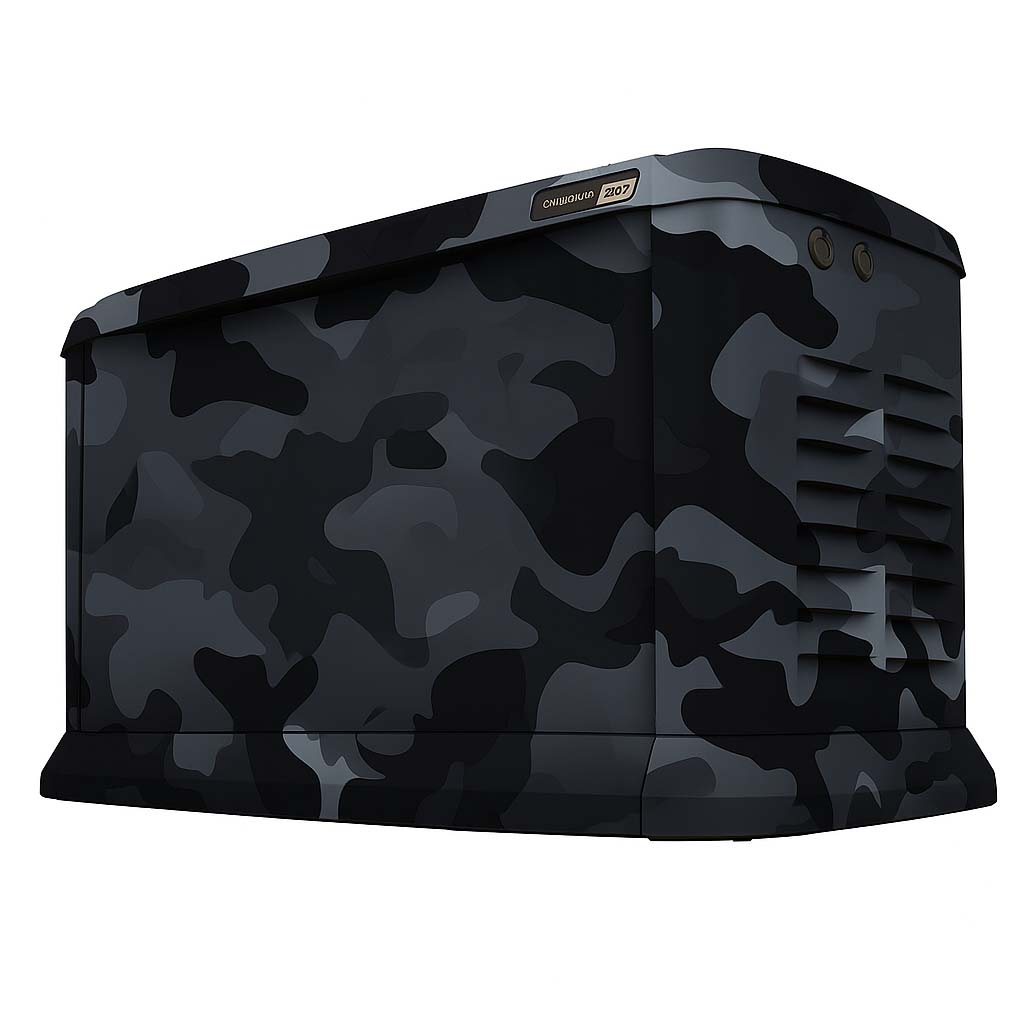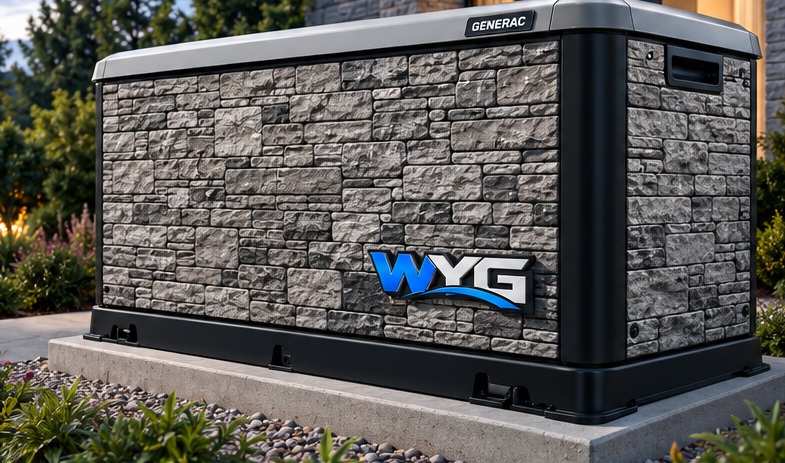
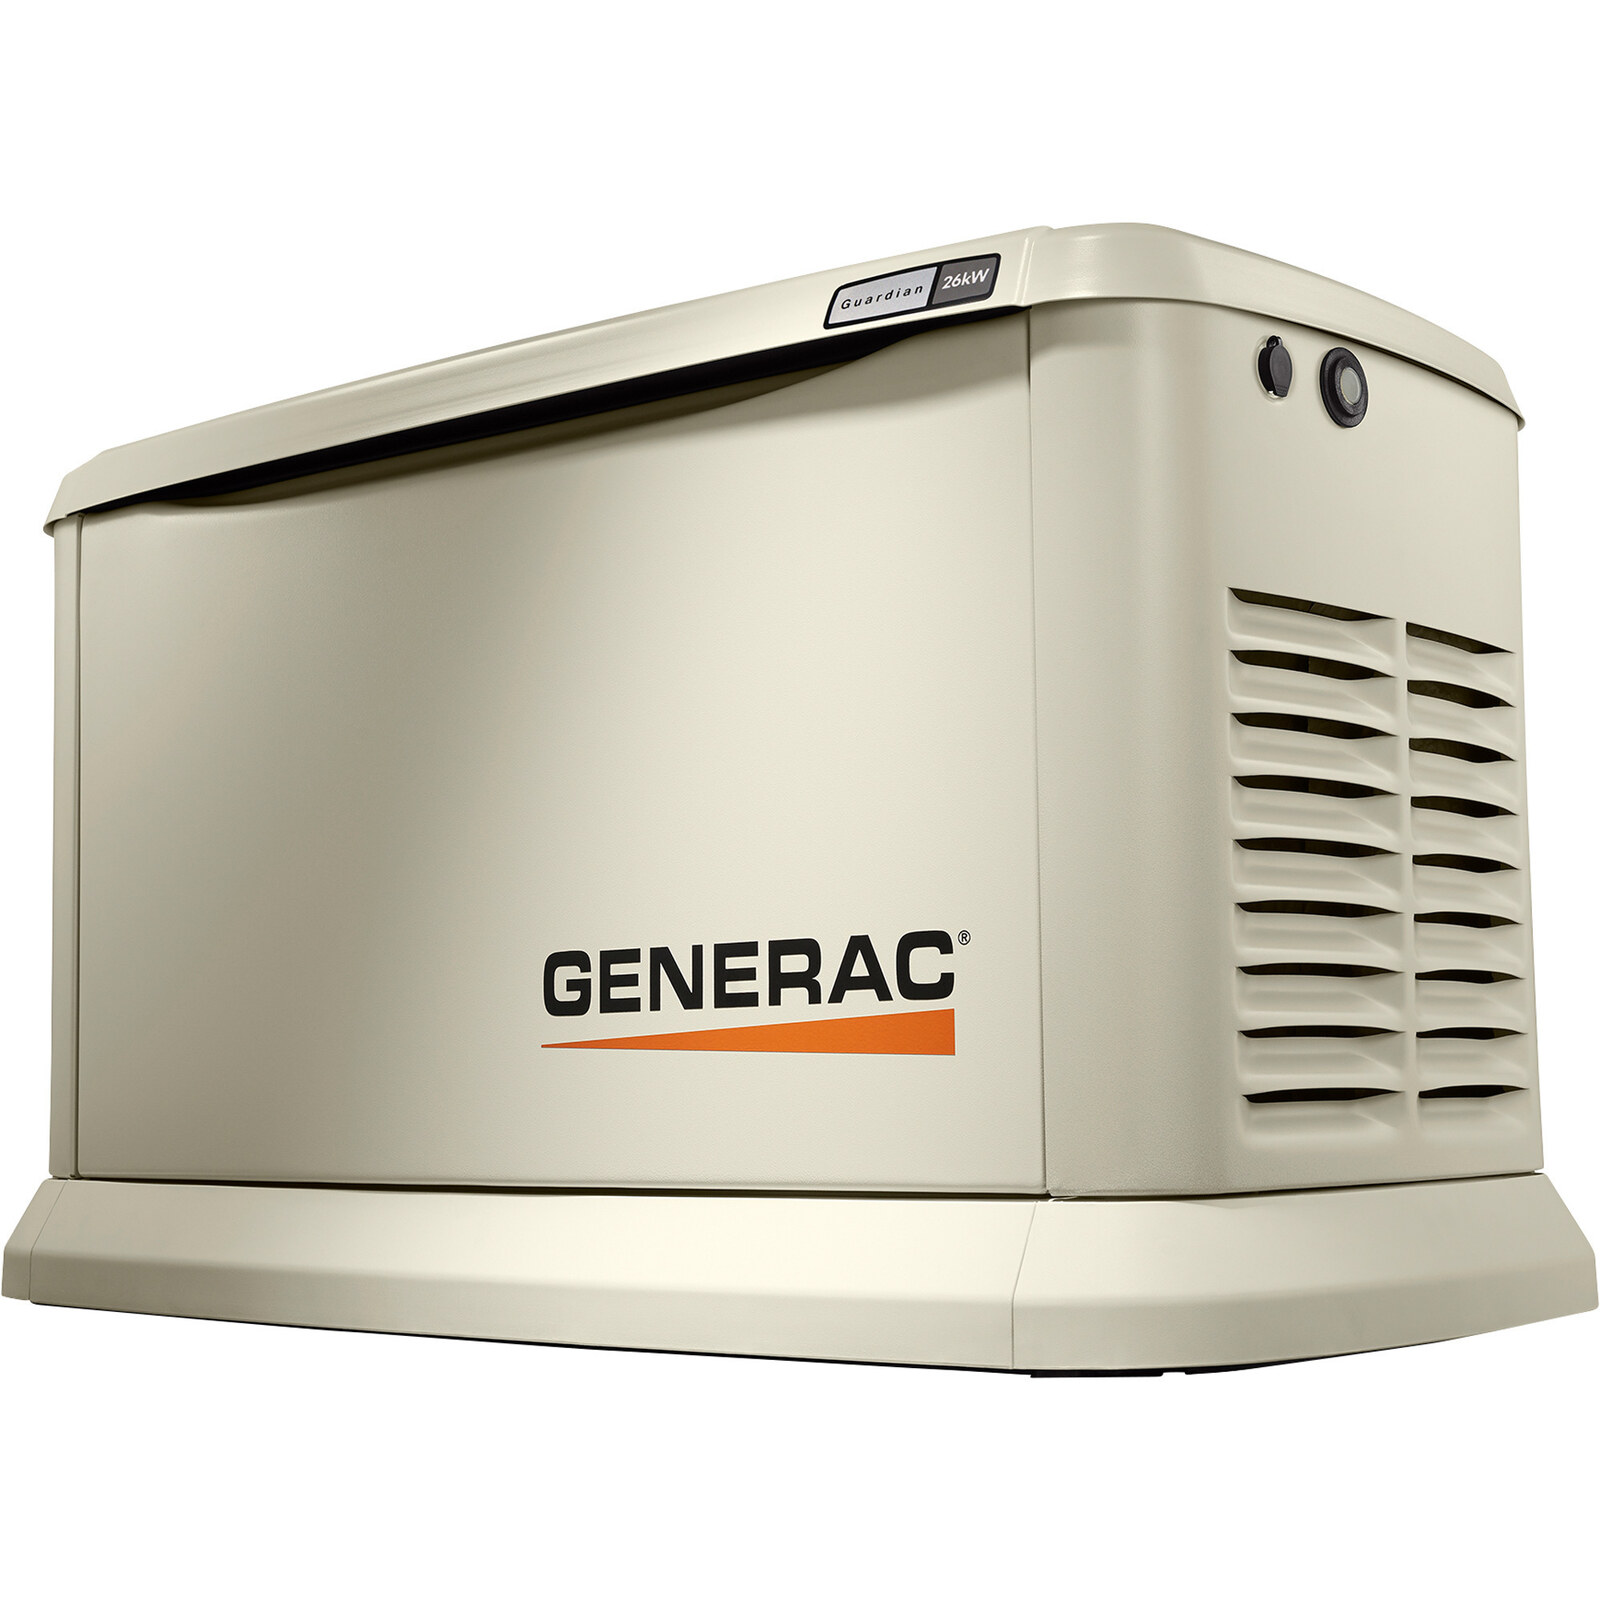
A few well-chosen photos can make a wrap discussion much more specific. One attractive angle rarely shows everything needed to plan the design. Aim for a small, organized set that answers four questions: which unit is this, which faces matter, what condition are they in, and how can the installer reach them?
Begin with the generator and its surroundings
Take one wide photograph that includes the complete enclosure and nearby walls, landscaping or fencing. Keep the camera level where practical. This view explains the setting and the main viewing angle, while separate closer photographs can describe the panels.
Work from accessible positions without moving equipment or reaching into restricted spaces. Standby generators can start automatically. If getting a model label or a particular view requires opening or removing a panel, ask the generator service provider to help according to the exact unit’s instructions.
Generac: Air-cooled generator owner’s manualModel-specific operating reference. Follow the manual for your unit; this is not a wrap approval.
Give every requested face its own photo
Photograph the front and both ends as straight-on as the available space allows. Include the rear or top only when accessible safely. Keep the full panel edges in the frame instead of cropping tightly around the blank area where you imagine the graphic.
Add one angled overview to connect the separate views. Describe faces consistently, such as “front facing the driveway” and “end facing the house.” If one face cannot be photographed, say so; an identified gap is more useful than an assumption that every side looks the same.
Include the details that could change the scope
- The full model number, taken from existing paperwork or an accessible label.
- Close-ups of any peeling paint, rust, dents, old graphics or replaced panels.
- An overall photo showing where each close-up belongs.
- Notes about tight access, gates or other site arrangements.
Use clear daylight when possible and check that small details are in focus. Keep the original images rather than sending only a collage or heavily compressed screenshot. If dimensions are available, label the panel and measurement units; do not estimate exact panel sizes from the photo alone.
Send a brief that matches the photographs
Name the files by unit and view, such as “Home-front” or “Unit-02-right-end.” Include the design name or reference, the faces you want reviewed, the project location and whether you are asking about graphics only or installation as well. Photos support the initial review; they do not replace any measurements or inspection required for final fit.
On this test website, Plan Your Project creates a downloaded draft. It does not transmit a quote request or these photos to staff. Keep the draft and original photo folder together so they are ready to share through the project channel agreed with WYG.
Related questions
How do you confirm the right fit for my generator?
Start with the exact model, photos of the enclosure and the panels you want wrapped. WYG reviews those details before confirming a production layout. A Studio preview or selected product option is not final fit approval.
Read the related guideIs installation included with the wrap?
Confirm installation as part of the specific quote. Do not assume that a catalog item price includes fitting, travel or surface preparation. The generator itself is not included with a wrap design.
Read the related guideDoes Plan Your Project send my quote request?
Not on this test site. It downloads a local quote draft and does not send it to staff or email it. Keep that file for review. The separate Partner and Installer application forms do transmit their submissions to the WYG Portal.
Prepare a project draftTurn the idea into a project brief.
Choose a design, compare it in the Studio and keep your model details together for review.
On this test site, Studio saves stay in your browser and project drafts are downloaded, not submitted.